
Forging a Strong, Athletic Back at Home: A Practical Guide

Lacking the aesthetic pop of the chest, shoulders and arms, the back all too often, gets short shrift at the gym. But that’s a mistake. A well-developed back gives your physique both width and depth and exudes athletic power. It's the foundation for mastering pull-ups, muscle-ups, climbing, and obstacle course racing.
Over the last decade, I’ve forged my back training at home. It’s carried me through a Spartan Ultra and the MovNat level 3 certification. And I can attest that few things amaze your kids like rattling off muscle-ups at the playground.
What’s more, I’ve guided clients to similar successes, crafting backs strong enough to endure special forces selection, Spartan OCRs and MovNat certifications, many of whom chose to train at home. Long story short, just because you train at home doesn’t mean you can’t create a bigger, stronger, more athletic back.
In this article, I'll show you how a regular guy, who is ready to put in the work, can optimize his training to make steady progress. I hope it becomes your go-to guide for training your back at home.
Below are links to the different sections. And please be sure to bookmark this page, so you can come back later.

An Adventure-Ready Back
What exactly is our goal here? It certainly isn’t size at all costs, nor is it just about strength. For fitness generalists, I see five main goals:
Strength: We aim for a strong back. This includes both horizontal and vertical pulling. To achieve this we need to lift heavy often enough to get strong, but not so often that we break down. And we want to be strong across the entire range of motion in a way that prepares us for real life.
Size: Size is undeniably impressive and puts you in an exclusive club. To gain size, we need to directly target the relevant musculature with enough high quality training to generate growth while avoiding overtraining and junk volume.
Mobility: Improved mobility enhances athleticism and joint health and requires strength across the full range of motion of the joint. You get strong and build muscle in the ranges of motion you train, so if you’re weak in a position, you won’t get stronger by avoiding it.
Durability: We aim to avoid injury and build an unbreakable back. To achieve this we need to provide enough connective tissue stress to generate growth; we need to build breaks (eccentric strength); and we need to be strong in all positions (mobility). All while avoiding overtraining.
Longevity: As we age, we lose size and strength, so building muscle while we're young sets the stage for the future. Imagine yourself at 95. Can you pull open a big heavy gate? To some degree the answer will depend on how you train today.
To learn more about training for longevity check out my article, “Maximizing Lifespan: The Essential Guide to Exercise for Longevity”. LINK HERE
All right, those are our goals. Which exercises should we use?
My Top 4 Back Exercises
The back is a large collection of muscles with two primary movement patterns: vertical and horizontal pulls. Both movement patterns work all the major muscles of the back including your traps, rhomboids, lats and rear delts. Therefore, our main objective is to develop strength in these two major movements with a roughly even focus.
Latissimus Dorsi: the lats not only give your back width, but they’re the primary mover for vertical pulls. If you want to dominate pull ups or muscle ups, you want strong powerful lats. They’re also a key source of power during freestyle swimming. Competitive swimmers often have very well-developed lats.
Upper back: the rhomboids and traps receive plenty of training from both vertical and horizontal pulling.
Rear delts: the back of your shoulders receives a solid degree of training from both vertical and horizontal pulling. For most fitness generalists, it’s unnecessary to give them additional focus.
Biceps: I'm planning a separate article focusing on training the arms at home. When it's completed, I'll add a link here. However, it's worth mentioning that vertical and horizontal pulls provide a substantial bicep workout and will significantly contribute to the growth of your arms.
Grip & Forearms: Pulling exercises build tons of grip strength and can grow your forearms, but for most fitness generalists, (especially obstacle course racers) it isn’t enough. I plan on posting a grip training blog in the coming months. I’ll add the link here when it’s done.

1) Chin Ups
The Chin Up strengthens and builds the major muscles of your back, your lats, rear delts, biceps, and grip. It’s the quintessential vertical pull and builds strength that transfers well to both climbing and traversing.
A note on grip: there’s growing evidence that your grip doesn’t really matter much. Wide, pronated and supinated grips all seem to work the same muscles in roughly the same way. There are structural differences between individuals that make some grips more comfortable than others. Thus, I prefer gymnastic rings because it allows you to rotate your grip to whatever position is most natural and comfortable for your unique anatomical structure. This becomes even more important as your training volume and intensity advances.
Chin Up Cues:
Start strong: Start from a hang under a full stretch. Maintain a touch of tension in your elbows and shoulders.
Utilize a Full Range of Motion: Aim to bring your chest to your hands. Pull your shoulder blades together at the top of each rep and hold for a split second.
Controlled Descent: Lower yourself down slowly and with control back to a full dead hang. This controlled descent not only encourages muscle growth but also reduces the risk of injury.
Avoid any Nonsense: No kipping, kicking or wriggling.
2) Inverted Rows
Inverted Rows are the perfect pair to Chin Ups. They build horizontal pulling strength while training your back, lats, rear delts, and grip. They provide a full natural range of motion that improves muscle coordination, full body stability and functional strength. Moreover, they’re a fantastic way to build up to your first pull up.
Inverted Row Cues:
Start strong: Your back should be under a deep stretch with your shoulder blades pulled wide. Engage your glutes and abs to maintain a straight bodyline. Your back should be 1-2 inches from the ground.
Utilize a Full Range of Motion: Aim to bring your chest to your hands. Squeeze your shoulder blades together at the top of each rep and hold for a split second.
Controlled Descent: Lower yourself down slowly and with control back to a full hang with a deep stretch. This controlled descent not only encourages muscle growth but also reduces the risk of injury.
3) Dumbbell Row
Dumbbell Rows are a great alternative to inverted rows. As your training volume and intensity grows, you’ll want another horizontal pull that you can do at home with minimal equipment. Dumbbell rows fit the bill. They work all the relevant musculature and teach you to pull heavy weight with a stable base.
Dumbbell Row Cues:
Start strong: Hing at the hip, while maintaining a flat back. Allow the weights to pull your shoulder blades wide for a deep stretch.
Utilize a Full Range of Motion: Aim to bring the weight back to your hips for a full range of motion that maximally engages your lats.
Controlled Descent: Lower the weight down slowly and with control back to a deep stretch. This controlled descent not only encourages muscle growth but also reduces the risk of injury.
4) Dumbbell Pullover
Pull Ups are tough. If you’re struggling to hit your first few pull ups, then the dumbbell pullover is a great way to train your lats for vertical pulling. Plus, as your training volume and intensity increases it’s great to have a second vertical pulling movement to pair with your chin ups.
Pullover Cues:
Utilize a Controlled Descent: Lower the weight down slowly and with control for a deep stretch. This controlled descent not only encourages muscle growth but also reduces the risk of injury.
Utilize a Full Range of Motion: Aim to bring your arms back up to perpendicular to the bench.
Optimal Training Intensity for the Back
You need to train hard. That means that in most circumstances, you want to train to within 1-3 reps of failure. Failure is the point where you can't do another rep without sacrificing good form. If you’re doing full range of motion chin ups, failure is the point where you can no longer get your chest to your hands. When you're 1-3 reps away from failure, your movements typically start to slow down.
If you’re training close to failure, then the number of reps you can do will be determined by how heavy the weight is. For instance, you may be able to do 30 incline inverted rows, but only 5 decline inverted rows.
As long as you're training intensely like this, rep ranges between 5-30 can effectively build muscle. Lower rep ranges are best for building strength and stimulating connective tissue, while higher reps are great for building muscle, minimizing fatigue, and reducing wear and tear on your joints.
For a deeper dive into how to train to build muscle, check out the following section of my article, “Body Recomposition: How to lose fat while building muscle”. LINK HERE
With that in mind, here are some specific recommendations.
Chin Ups: If everything feels good with no injuries or nagging pain, I recommend lifting relatively heavy when possible. This means, once you get up to around 8-12 chin ups, you can try adding weight.
Inverted Rows: For inverted rows, I recommend using either a medium or light weight for most people, as some research suggests that having a heavier day (chin ups) and a lighter day (inverted rows) each week is ideal. Thus, I’d work up to around 18-20 reps before trying a harder progression. When you can perform 18 perfect decline inverted rows, you can start adding weight with a backpack.
Dumbbell Rows: Here, I recommend either a medium or light weight. Personally, medium weights (around 13-18 reps on the first set) are ideal. It gives my connective tissue a nice break, and I get an intense burn on the last 3-5 reps of every set.
Dumbbell Pullovers: Here too, I recommend either a medium or light weight, with medium weights again being my personal preference.

Measuring and Maintaining Progress
How do you know, if you’re making progress? The last thing you want to do is spend a bunch of time lifting weights only to discover that nothing has happened. Ultimately, there are two ways to track progress, and as you’ll see below, increased strength is by far the most important. Let’s go over both of them.
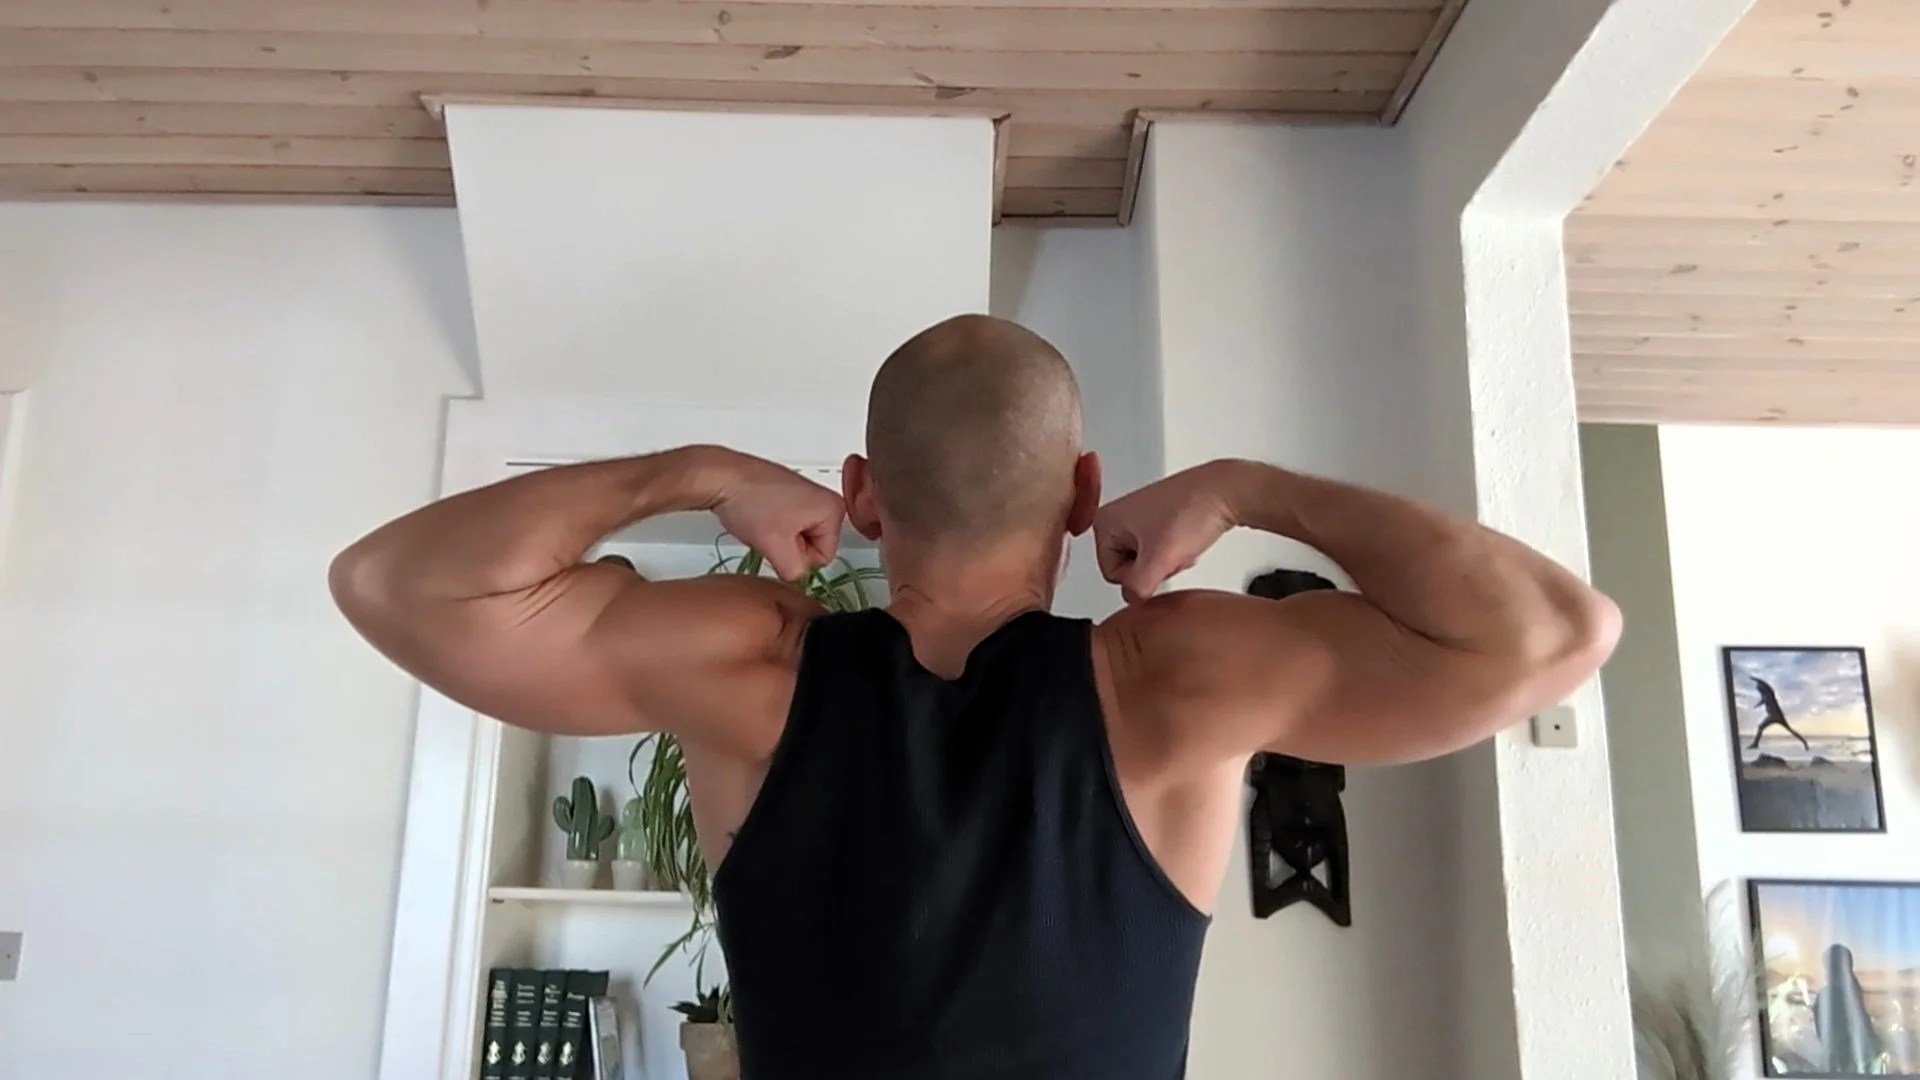
Visual Progress: Your back won’t just suddenly blow up. It can take months to see significant visual progress. In fact, the progress can be so slow that you might not notice it even if it’s working. So I recommend you take a picture at the start of your program. This will give you a point of reference so you can track your progress.
Visual progress will also be impacted by body fat. The back can hold a lot of weight, both muscle and fat. So, if you’re losing fat while building muscle, the results can be more visually impressive in a shorter time.
Progressive Overload: By far the single most important sign of progress is strength increases. If you are consistently getting stronger, you are almost certainly getting bigger. It isn’t a guarantee. You can get stronger without getting bigger. But if you follow something like the program below, strength gains are extremely likely to signal size gains.
If you’re just getting started, focus first on getting your form completely dialed in. Good form makes many of these exercises harder. Bouncing the weight and using short ranges of motion enable you to lift more weight. Take the ego hit. Use the right weight to maintain perfect form. Once you have your form nailed down, focus on adding either reps or weight every week.
What’s A Good Goal?

A fitness generalist (for instance, your typical obstacle course racer who wants to look good at the beach) should aim for at least an intermediate level of strength in both horizontal and vertical pulls. Achieving it, you can expect to build noticeable muscle in your lats and upper back. In a fitted shirt, your lats might even be visible. And it generally represents the sweet spot of newbie gains (intermediate strength generally takes 1-2 years of dedicated training on a good program). Strength and physique athletes can of course press on to advanced or even elite levels, but it requires far more dedication and specialization.
With that in mind here are some intermediate strength benchmarks.
Horizontal Pulling Strength: Inverted rows are a good way to measure horizontal pulling strength at home.
Men 10 perfect reps of decline inverted rows.
Women 10 perfect reps of regular inverted rows.
Vertical Pulling Strength: Chin ups are a good way to measure vertical pulling strength at home.
Men 12 perfect reps
Women 5 perfect reps
Breaking Through Plateaus
What do you do if progress stops? If you are not getting stronger, here are a few things to double check.
Are you training hard enough? You should be getting 1-3 reps from failure. This is the point where the weight starts moving slowly, and it starts getting really hard. You need to train hard to get results.
Is your form correct? Double and even triple-check your form. Try filming yourself so you can see how you look. Consider getting a coach.
How is your mind-muscle connection? Can you feel the exercise working the muscle? These back exercises destroy my back and lats. I can feel it.
Are you recovering? Are you giving yourself enough rest, good nutrition, and sleep to recover? If you aren’t progressing, it may be because you aren’t recovering. If your sleep, stress, and diet are decent, you may need to lower your training volume (See Below).
Are you training enough? If you are being inconsistent or only training 3 sets of rows once a week, you probably aren’t training enough to make noticeable gains.

Constructing an Effective Back Workout Program
If you train hard with good technique, then total training volume becomes the most important variable for muscle growth. Training volume refers to the total amount of work you do per muscle per week. In this instance, we are focused on the back, and we measure volume using sets.
Generally, the most volume you can do and still recover from is going to produce the most growth. However, there are limits, especially in terms of recovery. Here are some rough guidelines to give you an idea of the relationship between training volume, training age and growth.
Total Newbies: If you’ve never lifted weights before, then any amount of lifting is going to lead to some strength and muscle gains. But those gains will end very quickly if your volume is too low.
Beginner: If you’ve been lifting for less than a year or two (or you’ve trained longer but inconsistently on a poor program), you can likely make gains on anything between 6-15 sets per week. If you can recover, then more sets causes more growth.
Intermediates: After the first year or two of training hard and consistently with a good program, you often need more volume to keep making progress, and the range might be more like 10-25 sets per week.
Maintenance: Typically, you can maintain with something like 4-6 sets per week. For instance, I do about 6 sets per week to maintain when I’m training for big ultra-endurance races. That way I can focus the majority of my time and energy on Ironman or Spartan Ultra training.
If you’d like to learn more about maintaining size and strength during Ironman Training, check out my article, “Can you finish an Ironman without losing muscle?” LINK HERE
Now, hopefully, you’ve noticed that I gave ranges. There are two reasons for this. First, all of this varies tremendously from individual to individual. You’ll need to experiment to see where you’re at. If you are doing too much, you won’t be able to recover, which means you’ll stop making progress, and you’ll start noticing nagging pains. If you do too little, you will progress very slowly or not at all.
Second, there’s a fairly large target here. The top end of the range will give you the quickest results while the bottom end of the range will give you the slowest results.
Here are two plans that you can use as templates for your own training.
A Slow & Steady Plan
For most beginners training 2x per week for a total of six sets is a solid minimum effective dose. Your gains will be very modest, but over time, they’ll add up. 6 sets are also generally enough for most guys to maintain their gains. So, if you don’t have much time, have other training priorities, or keep getting hurt with higher training volumes, here is a great program for you.

Note: if you can’t do a full chin up, substitute dumbbell pullovers.
If you hit a plateau or want to accelerate your progress, try adding a set every 2-4 weeks all the way up to 10 sets per week. Training two times a week is probably a bare minimum for real gains. If you have the time, I highly recommend training at least 3x per week.
A Plan for Committed Athletes
I recommend starting with 9 sets per week and then ramping up slowly by adding one set every 1-3 weeks. If you start running into recovery issues or joint discomfort, back off. 15 sets per week is probably a good upper limit for the vast majority of athletes, and most beginners will do better with 9-12 sets per week. Here’s how you might program that.

Notice that there are two weeks (A and B). Week A is horizontal pulling dominant, while week B is vertical pulling dominant. This keeps the vertical and horizontal pulling volumes even across the month. You can substitute dumbbell pullovers if you can’t do a full chin up, and in that case, just stick with week A.

Addressing Nagging Joint Pain
Okay, you pushed it too hard too fast and now you have a bit of shoulder or elbow pain. Maybe it’s not enough to visit the physical therapist yet, but it hurts. Now what?
Rule #1: Don’t train through joint pain!
Instead, you can try to train around the pain. Here we have a few things to try.
Double-check your form. There’s a reason coaches recommend doing exercises in specific ways. So the first thing to look at is your form.
Try using a lighter weight. For example, if it irritates your shoulder when you do dumbbell rows, try an easier/lighter variation. Find a load that you can just manage to lift 20-25 times and see if that takes the stress off of your connective tissue.
Change exercises. There are tons of great back exercises, especially if you have access to a full gym. These are my four favorites for training at home, but there are plenty of others.
Use a shorter range of motion. For instance, it hurts at the bottom of the dumbbell pullovers, you’re going too deep.
Cut your volume back. If all else fails, reduce your volume. Sometimes you just need time to heal.
In most cases, one of the above usually does the trick. This is especially true if you catch it early. Don’t train through pain!
Once you find a solution that works, it’s crucial to give yourself time to heal and strengthen. If you use one of the first four options, I recommend waiting at least several months before testing the original weight, range of motion, and/or exercise. Assuming you’re still making progress, there’s no hurry to go back and reinjure yourself. If you had to cut your volume, then be sure to SLOWLY raise the volume back up after all pain and discomfort are gone. If none of the above works, it’s probably time to visit a specialist.
Thanks for reading!
This is part of a series of articles designed to help you get great results training at home. Below you’ll find links to the other articles in the series.